The Booking Planner

Andy Larking
Last Update 3 years ago
The following pages give a brief overview of the various function available within the Booking Planner.
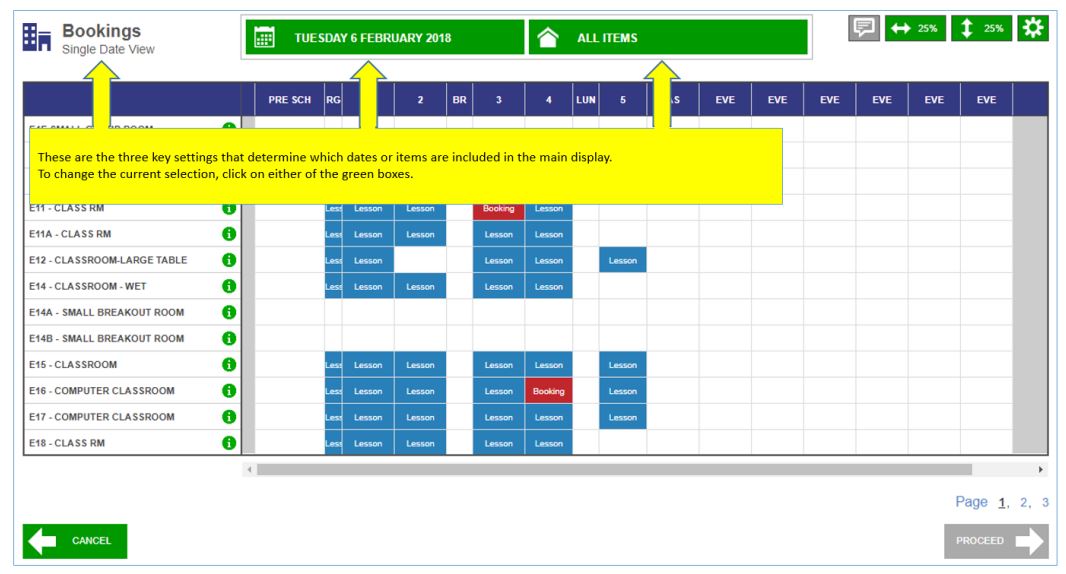


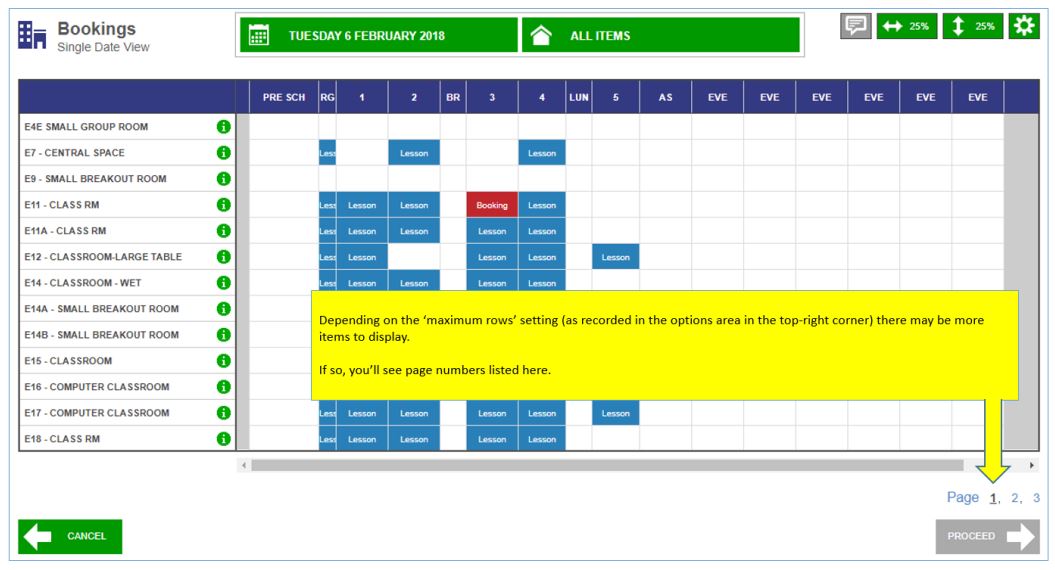
To begin the process of logging new booking, first select the required date/item at the very top of the page.
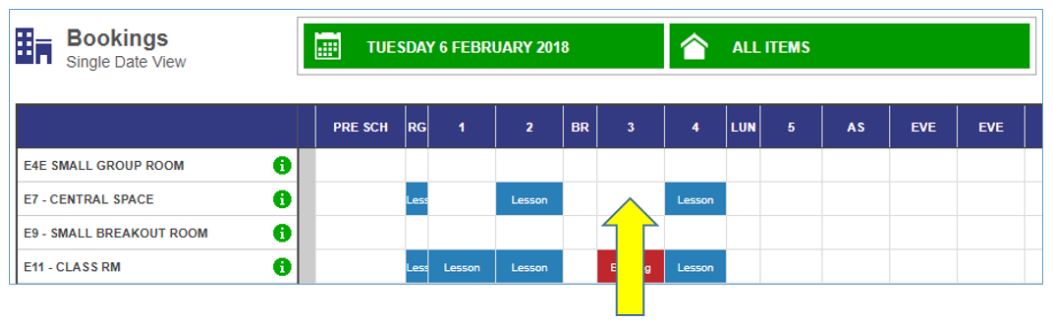
For this example, we wish to book Room E7 during Period 3.
The applicable slot has a blank (white) background meaning that the room is unused and free for selection.
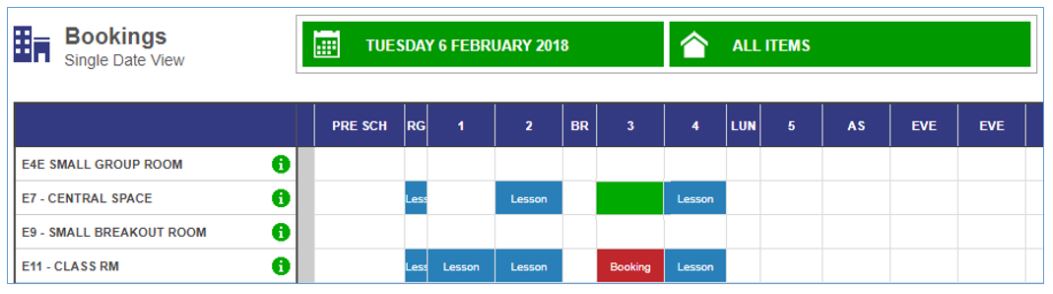
Click on the applicable slot to turn it green (tip: If required, you can select more than one slot - but they must be in the same row).
The area at the very bottom of the page will update to show your selection.

The Proceed button is now highlighted. When ready, click on it to move on to the next stage of the booking process